Lapidary practice Documented field observation
From rough Larimar to a finished piece
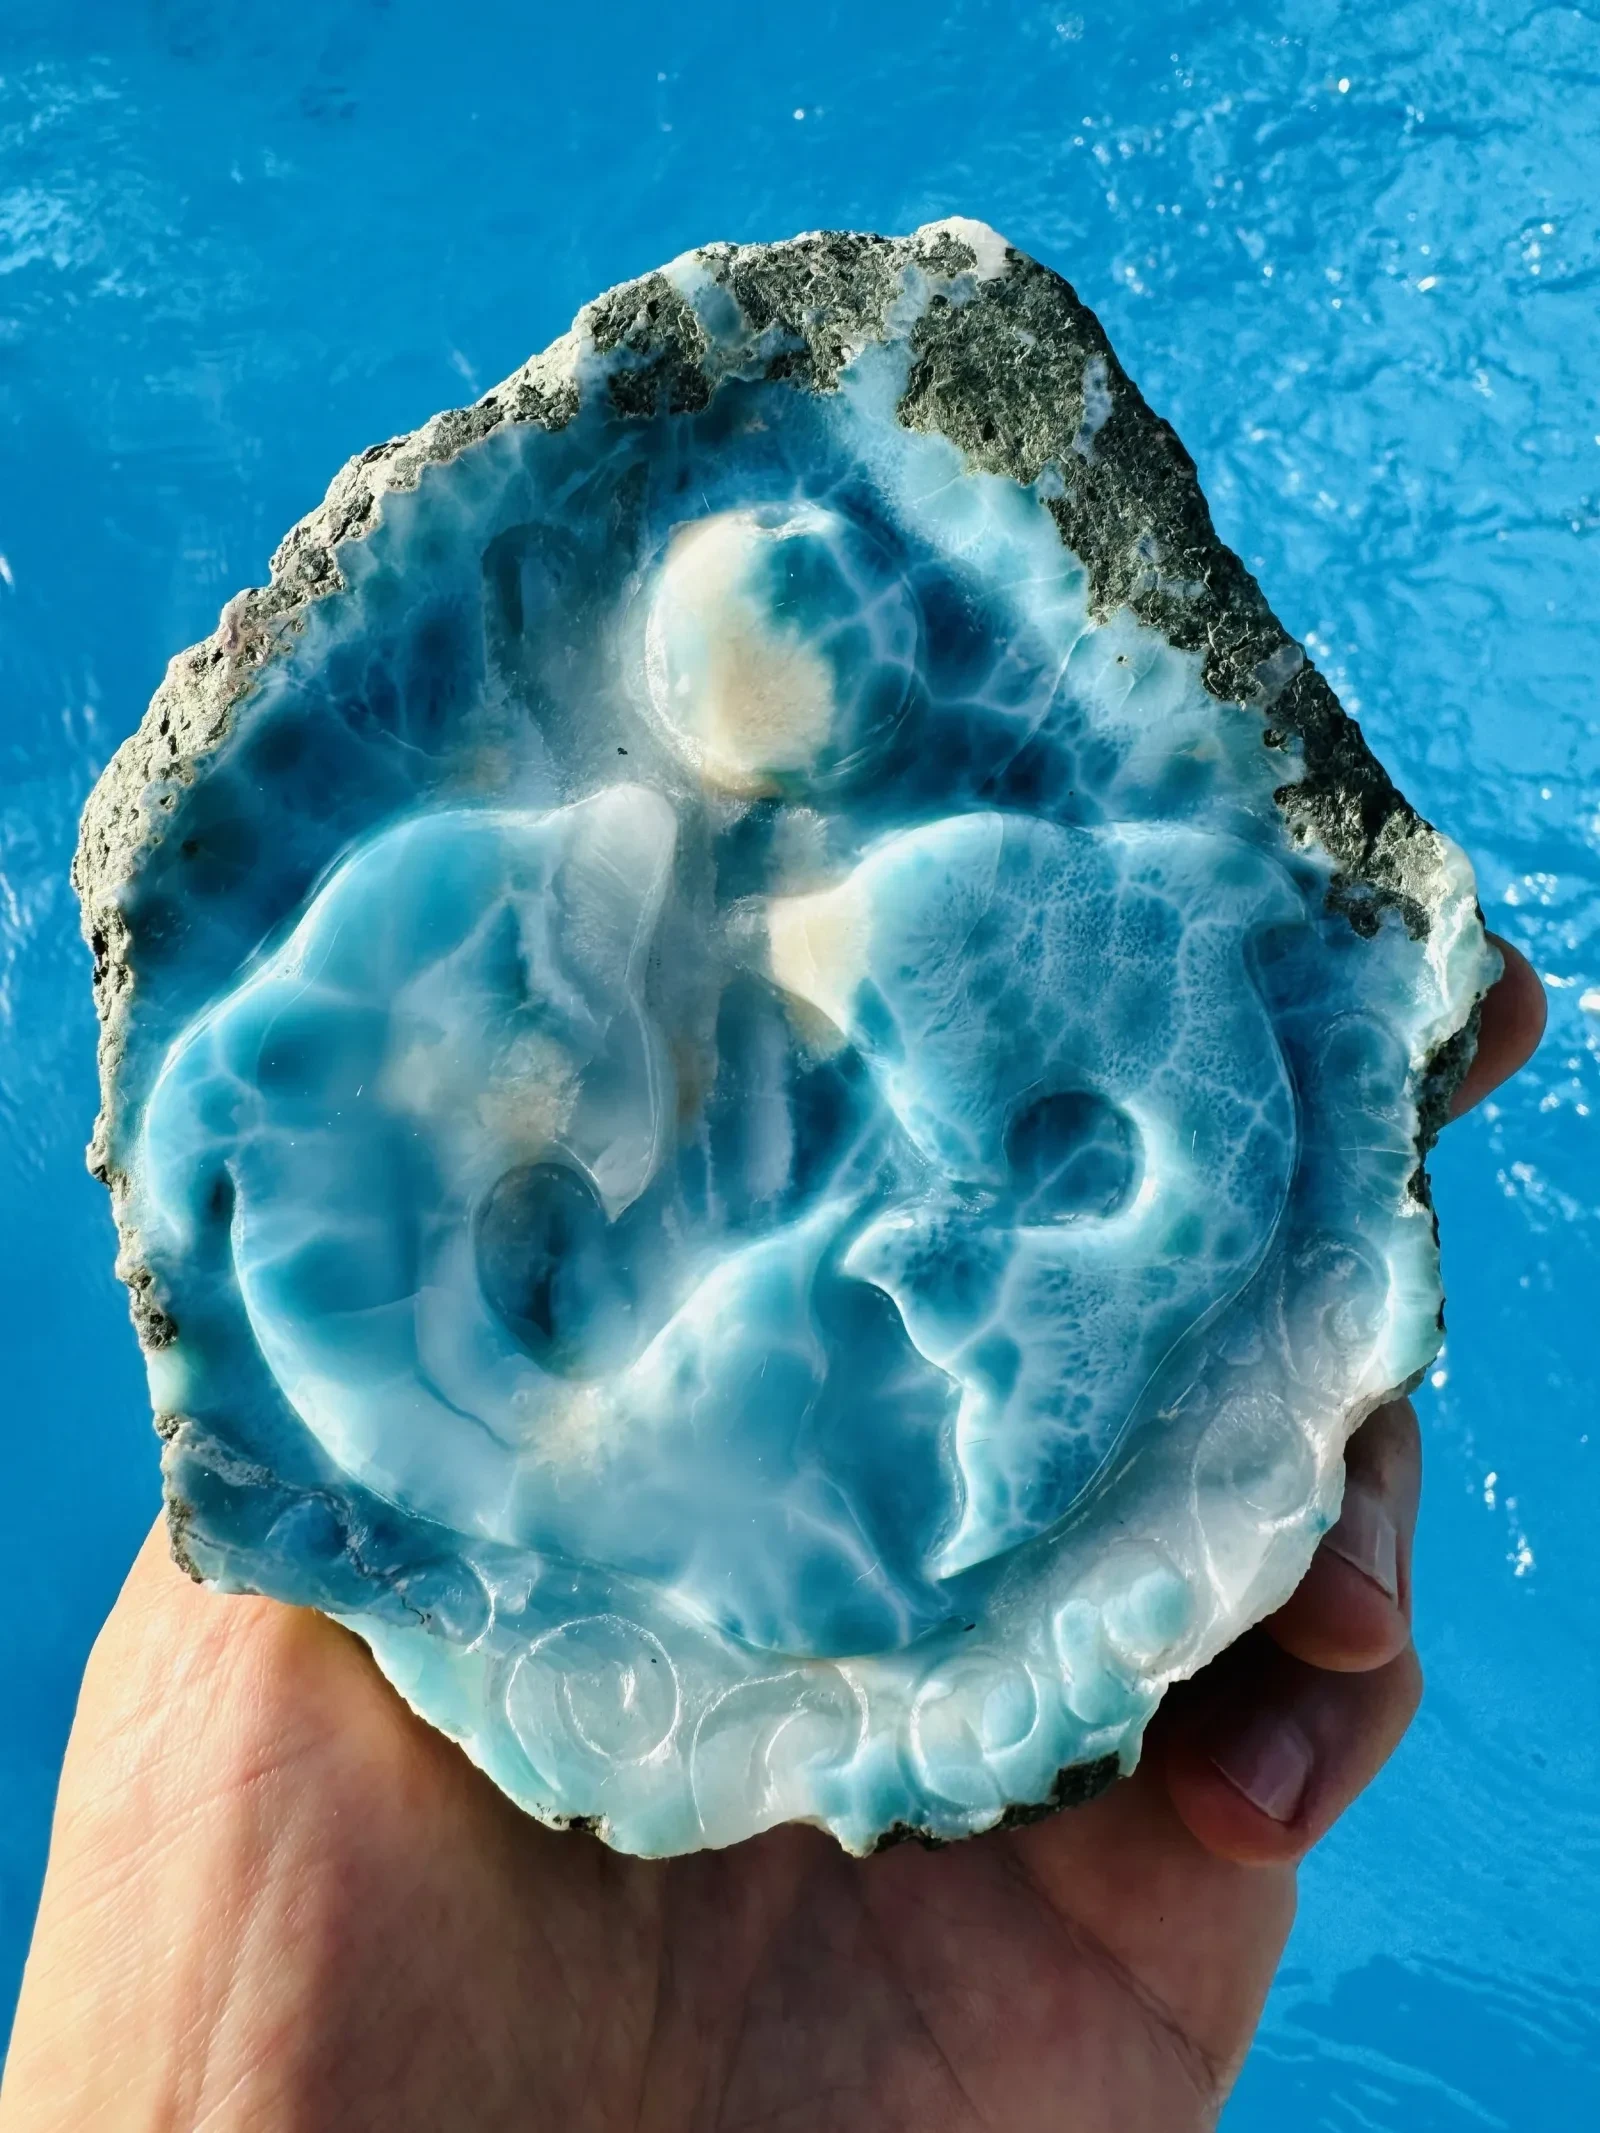
Finishing Larimar is not a process of adding beauty to an otherwise anonymous rock. It is a sequence of choices about which natural features to reveal, preserve or remove.
Every cut trades one possibility for another. A rough piece may become a specimen, slab, cabochon, bead, carving or several smaller objects. Good production therefore begins with documentation and design—not immediate enthusiasm near a saw blade.
Watch · Episode 2 New
From Rough to Gem: How Larimar Is Cut and Polished by Hand
1. Intake and documentation
Before cutting, record:
- Source or supplier record
- Date
- Rough weight and dimensions
- Dry photographs of all sides
- Wet photographs, clearly labelled
- Visible fractures, matrix and cavities
- Preliminary material category
- Specimen features worth preserving
Assign a batch or specimen number so finished pieces can be linked to the original rough where practical.
2. Washing and examination
Remove loose soil and surface contamination with methods that will not damage the material. Examine the piece dry and damp, under direct and diffused light, and with magnification where useful.
Water reveals contrast temporarily. It does not sign a contract promising the same appearance after cutting and polishing.
3. Planning the cut
Consider:
- Direction of color and fibrous growth
- Desired face
- Fracture position
- Matrix contacts
- Thickness
- Potential yield
- Specimen importance
- Final object type
Mark tentative cuts and photograph them. For exceptional material, seek a second opinion before making the first irreversible cut.
4. Sawing
Use a suitable diamond saw with adequate cooling. Feed rate, blade condition, support and orientation all affect chipping and heat.
Record slab sequence when provenance or pattern continuity matters. Numbering adjacent slabs can later demonstrate how a structure passed through the original rough.
5. Reassessment
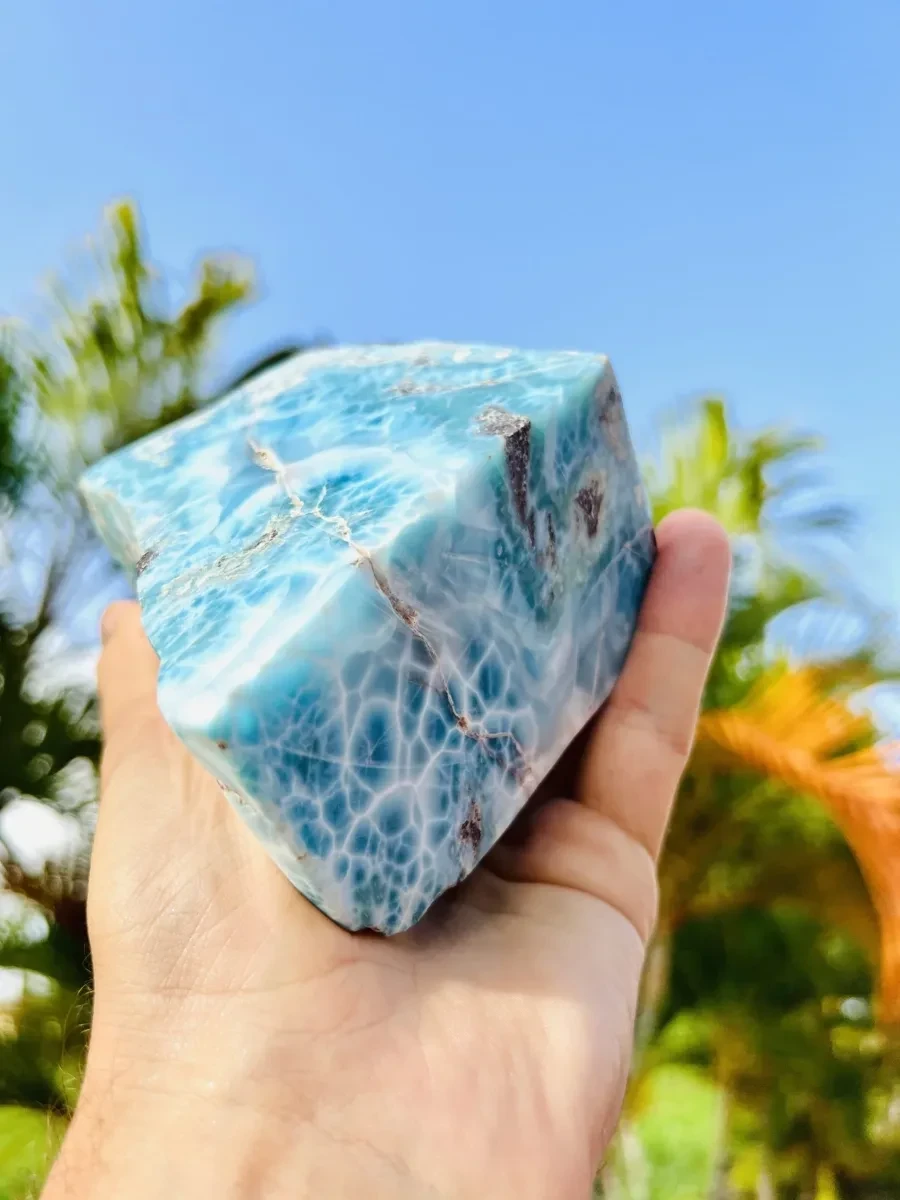
Fresh surfaces may reveal:
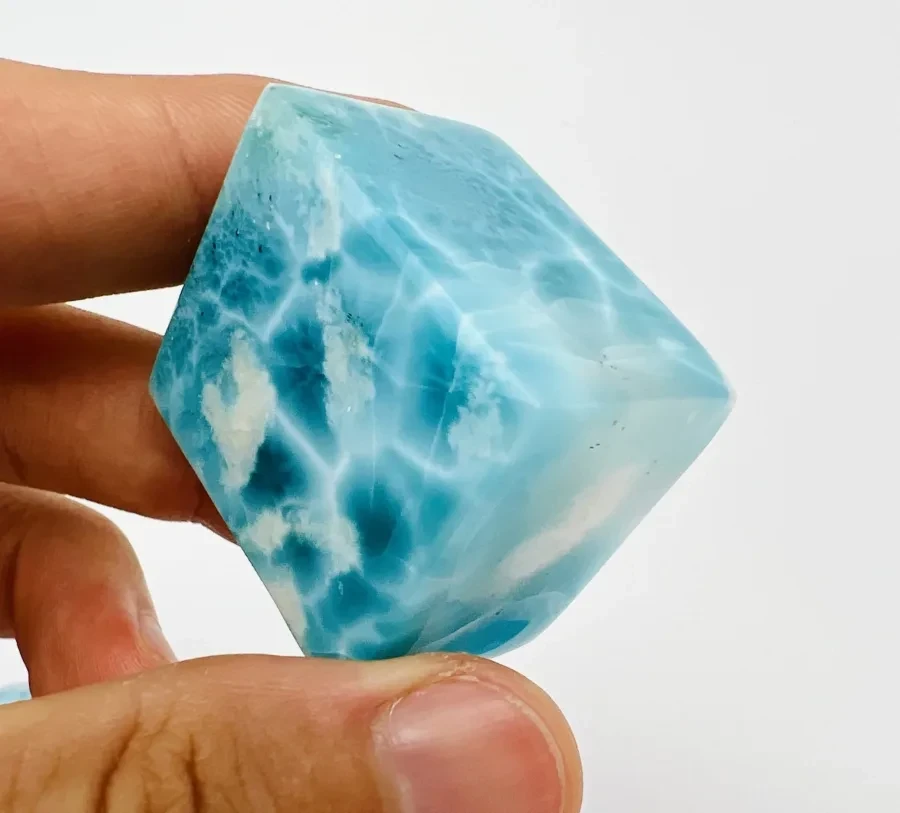
- Better color
- Hidden fractures
- Weak matrix
- Cavities
- Associated minerals
- A different optimal orientation
Update the plan rather than forcing the original design onto new evidence.
6. Preforming and grinding
Remove material gradually and maintain cooling. Shape the object while preserving adequate thickness and structural support.
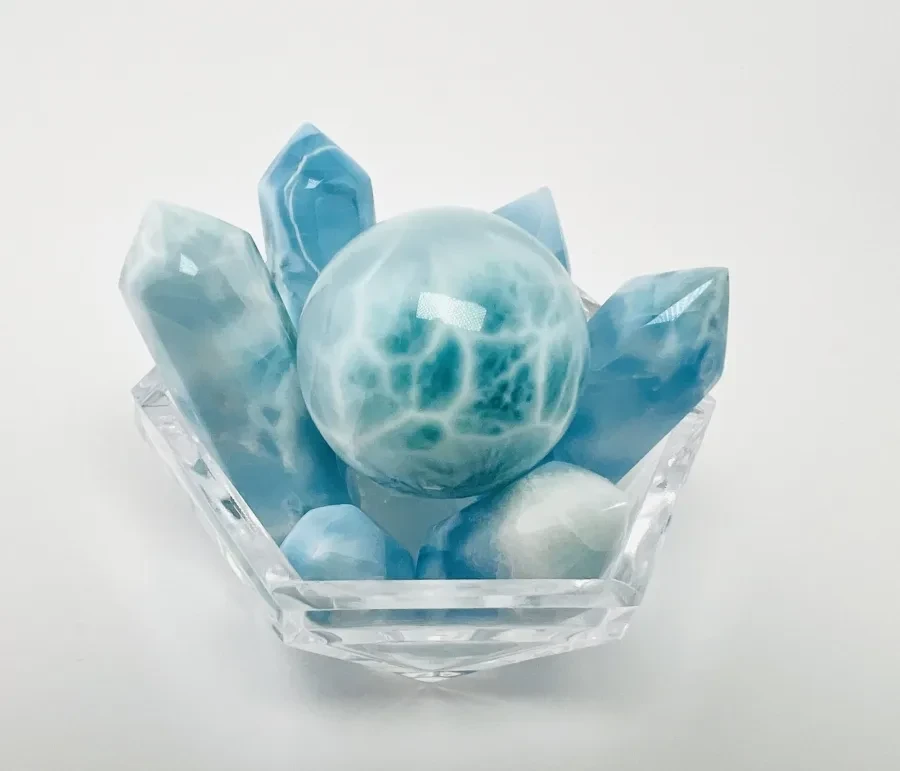
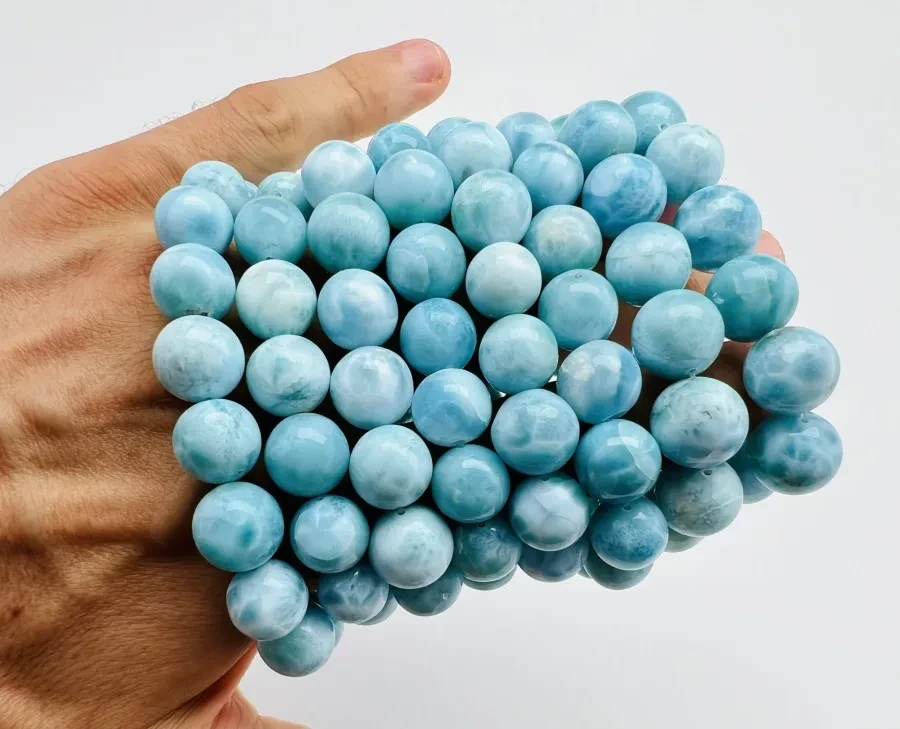
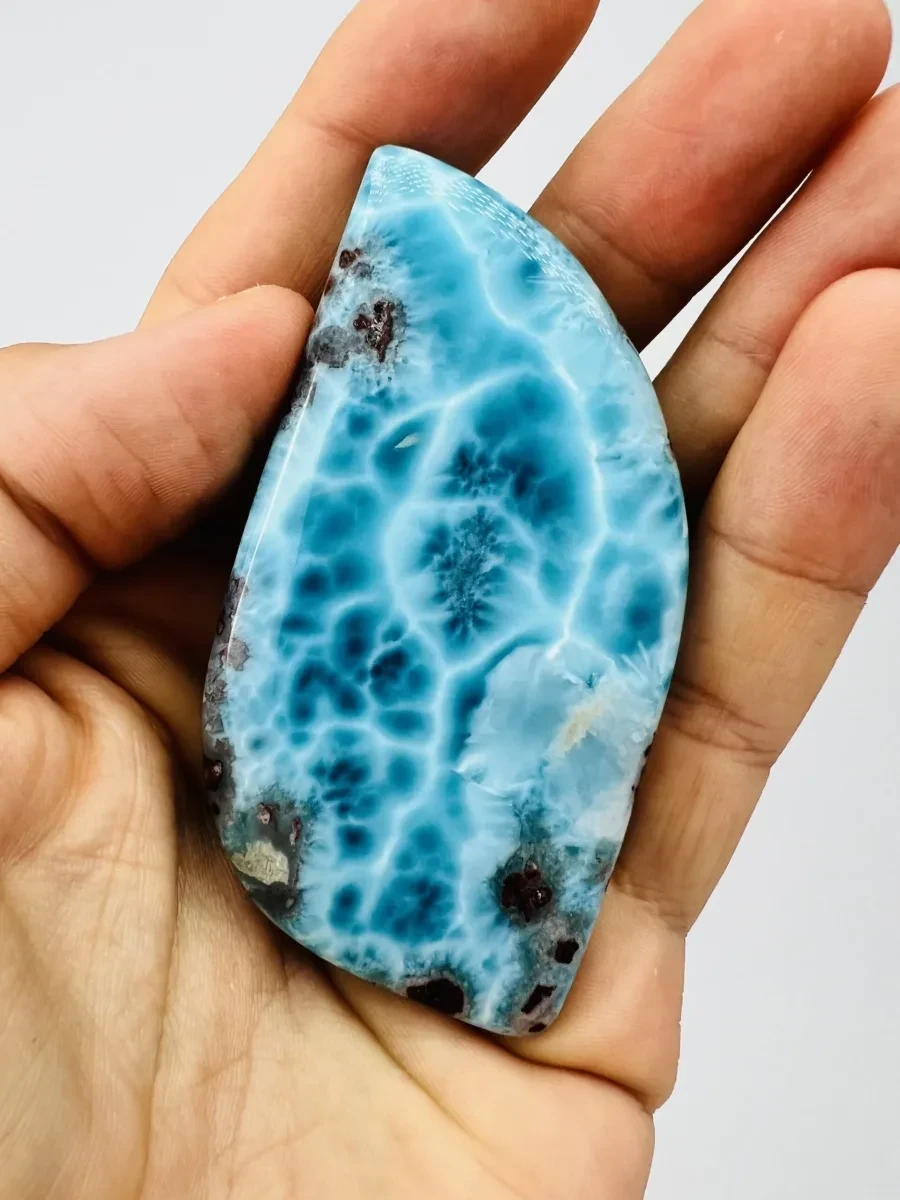
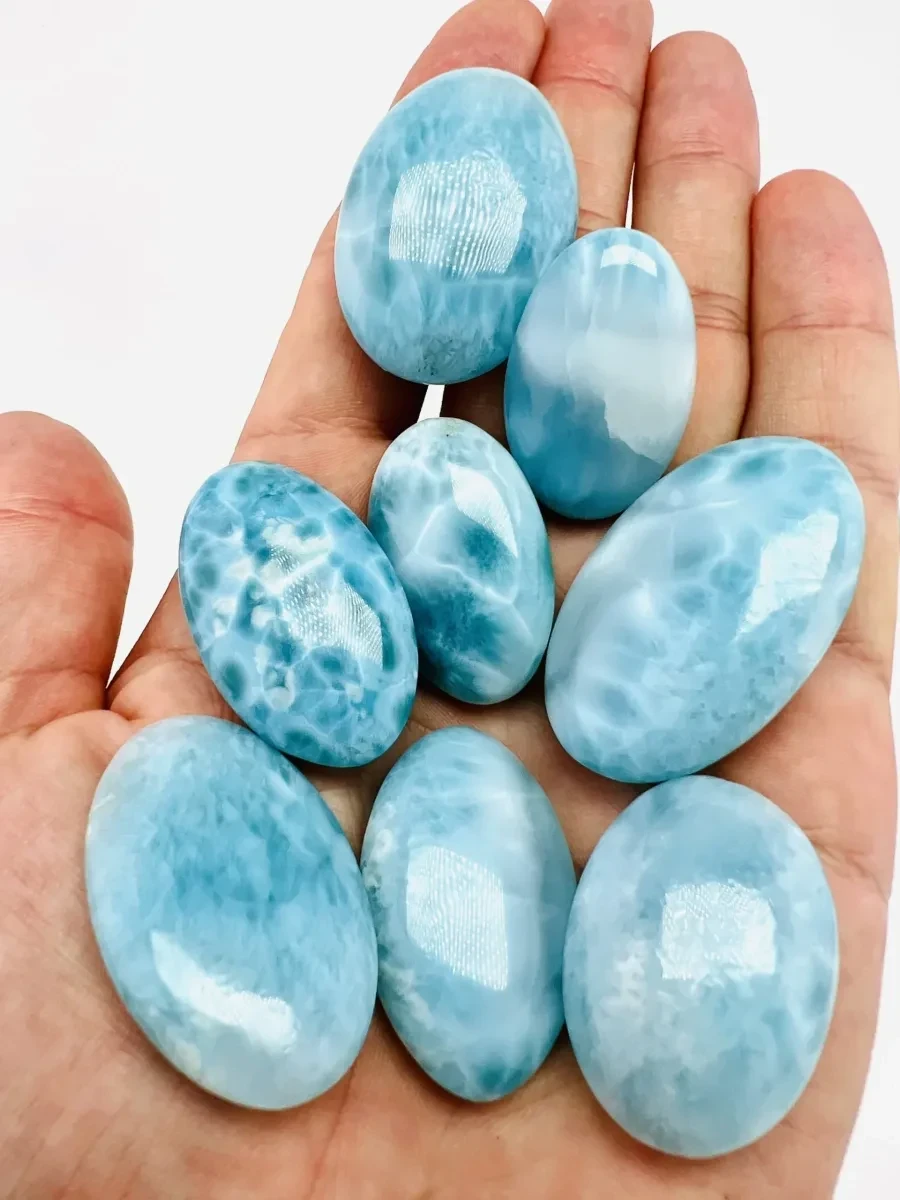
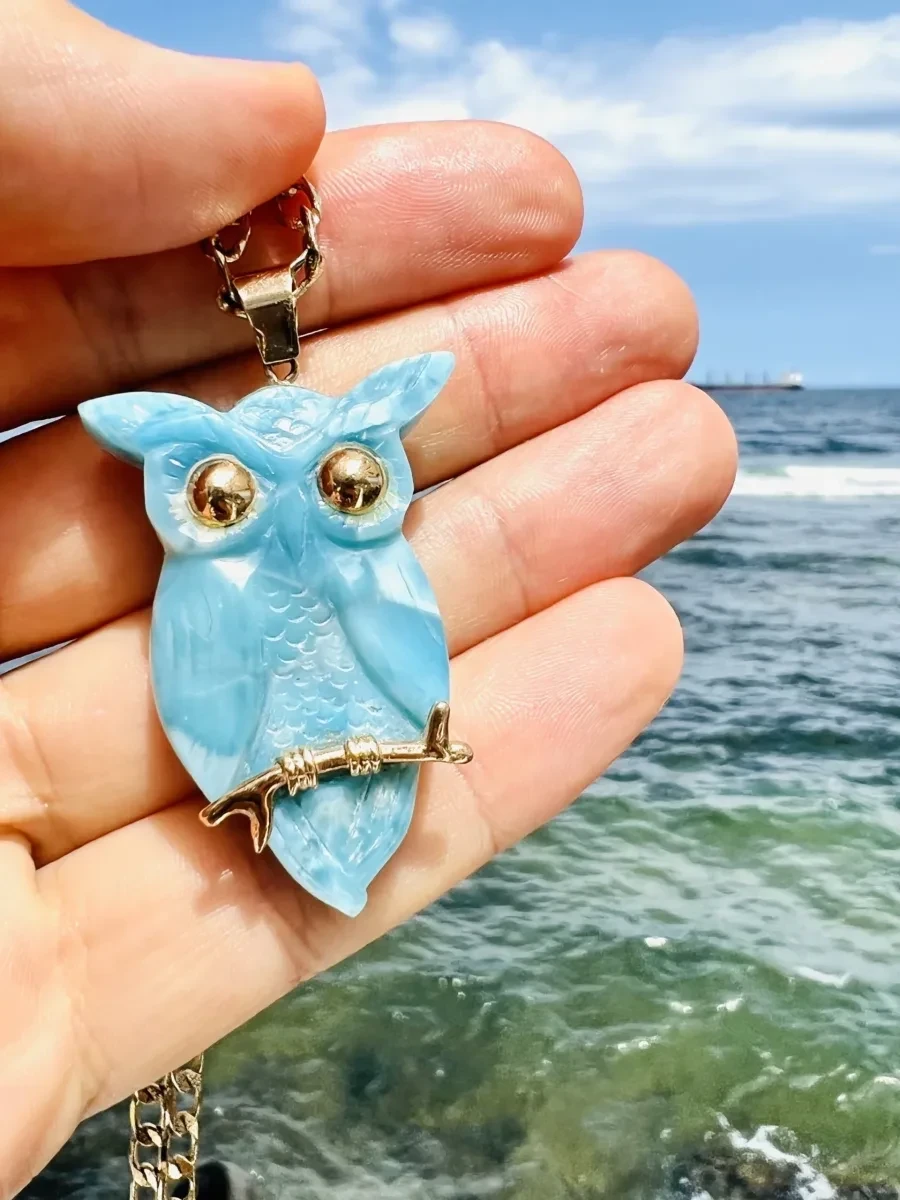
For a cabochon, establish the outline, girdle and dome. For a carving or freeform, preserve natural features intentionally rather than leaving accidental tool marks and calling them organic.
7. Sanding and polishing
Progress through suitable abrasive stages, removing the scratches from the previous stage before moving on. Uneven hardness between pectolite, matrix and associated minerals can cause undercutting.
Inspect under more than one lighting angle. A surface can look finished under diffuse light while retaining scratches that appear immediately under a point source.
8. Drilling, mounting or setting
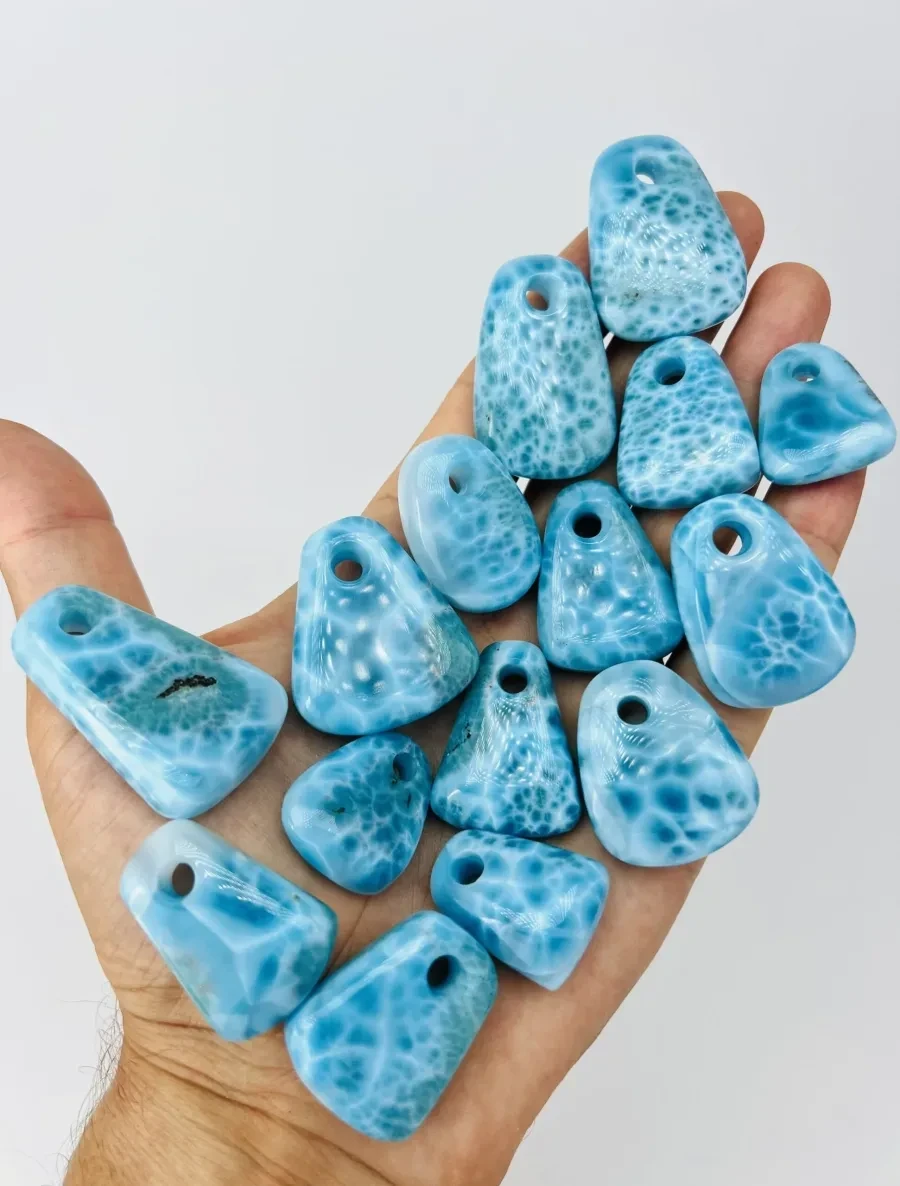
Drilling introduces local stress and heat. Select position, diameter, support and speed carefully. Fragile or exceptional pieces may be better wire-wrapped, bezel-set or mounted without drilling.
Jewellery settings should protect vulnerable edges and allow for the stone’s dimensions and condition.
9. Cleaning and final inspection
Remove polishing compound and debris without harsh chemicals, steam or ultrasonic treatment. Inspect:
- Surface finish
- Fractures
- Edges
- Drill holes
- Setting security
- Dimensions and weight
- Agreement with the final description
10. Final record
Photograph the finished object under standardized lighting and link it to its rough or batch record where available. Record any repair, filling, stabilization or treatment.
The final grade should describe the finished object, not inherit the optimism of the rough-stone label.