Documented field observation Trade practice
How to read a Larimar specimen
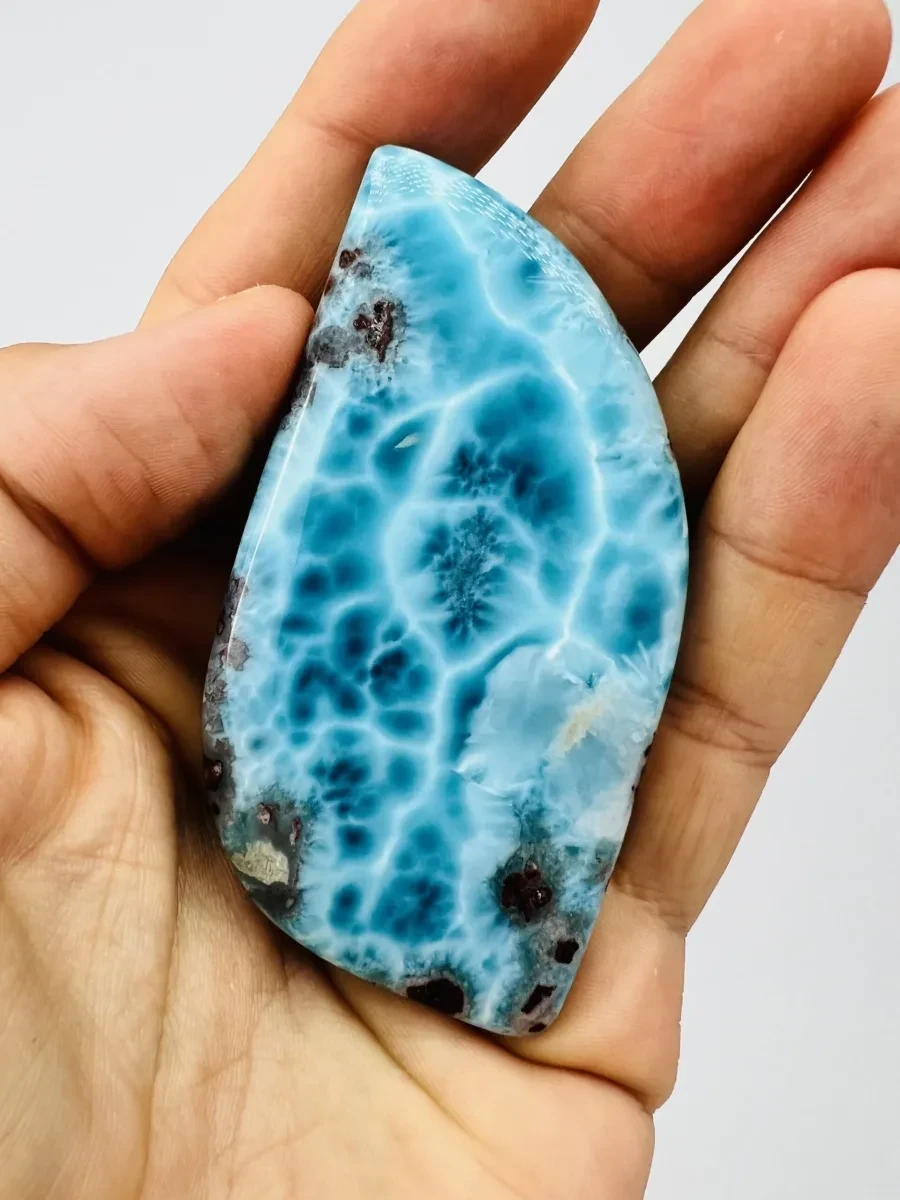
A useful description of Larimar is built from several observations, not one dramatic color name or grade. A specimen can be blue and green, strongly patterned and partly translucent, or carry both fine pectolite and visible matrix. Those characteristics can coexist. The purpose of this guide is to help you notice them in a consistent order.
This is an observation method, not a laboratory authentication or valuation report. Photographs can document a piece well, but lighting, exposure, screen settings, thickness and polish all affect what reaches your eye.
1. Begin with the whole piece
Look at the overall silhouette, form and scale before concentrating on a bright patch. Check the stated dimensions and weight. A close-up photograph can make a small cabochon and a kilogram-scale display specimen look surprisingly similar, while a mixed lot needs to be read as several pieces rather than one heavy object.
Ask whether the images show the front, back, sides and any important edge. For carved or mounted work, note how the material has been oriented and where the setting or carving changes what can be inspected.
2. Describe the color range, not only the strongest blue
Identify the lightest and darkest areas and the transitions between them. Larimar may show white, pale blue, saturated blue, blue-green or green areas in the same piece. A photograph taken in neutral, diffuse light is easier to compare than one made under a strongly warm lamp or a highly reflective sky.
Color is one quality dimension, not a complete grade. Strong blue may be desirable, while pattern, structural condition, optical depth, unusual natural features and workmanship can also matter.
3. Follow the pattern and internal structure
Trace the boundaries between colored and pale areas. Look for radiating fibres, cloud-like fields, wave-like networks, branching boundaries or comparatively quiet zones. Trade pattern names can be useful shorthand, but they are descriptive vocabulary rather than separate mineral species.
Observe whether a pattern continues around an edge or changes with viewing angle. That can reveal more than a single face-on image, especially where the polish and fibre orientation create apparent depth.
4. Check translucency, matrix and associated features
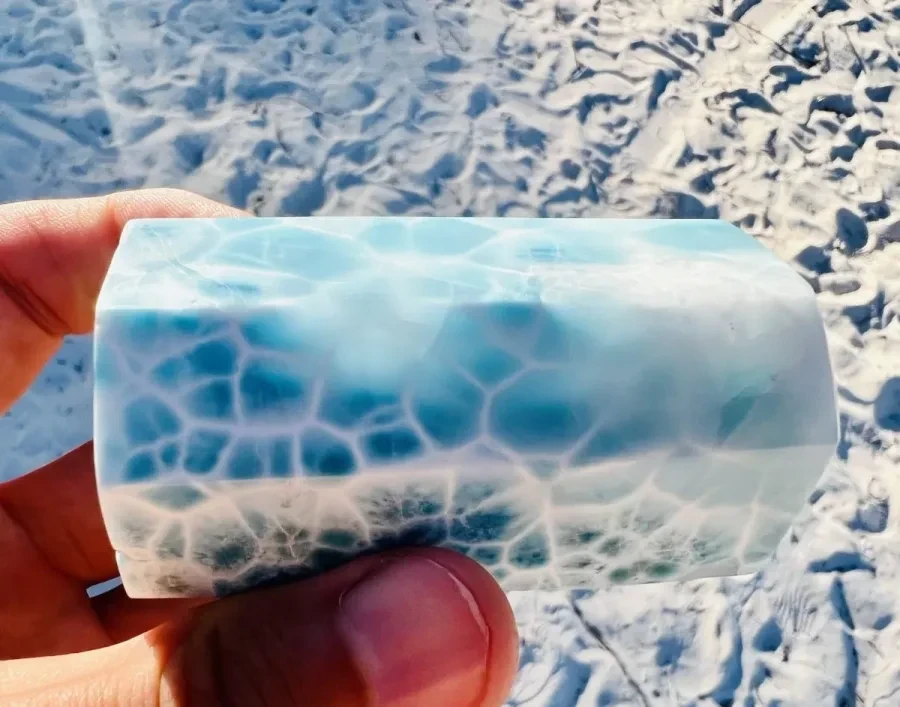
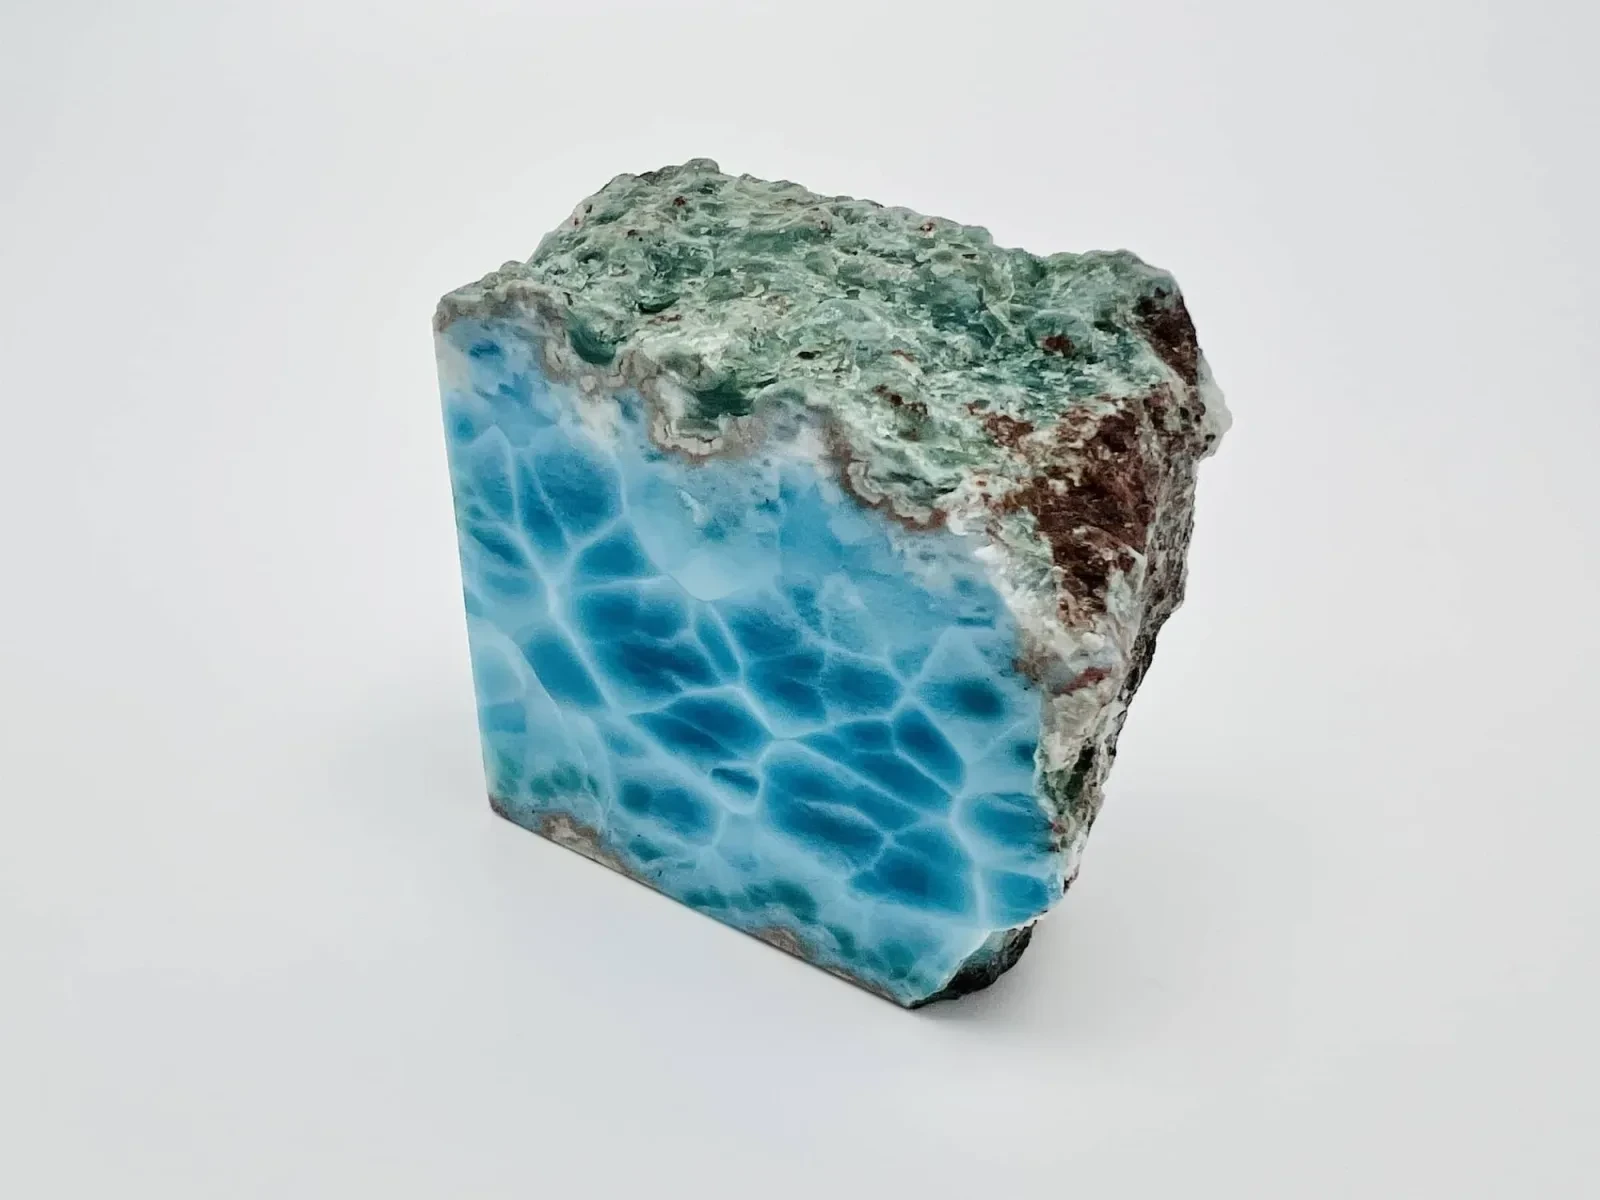
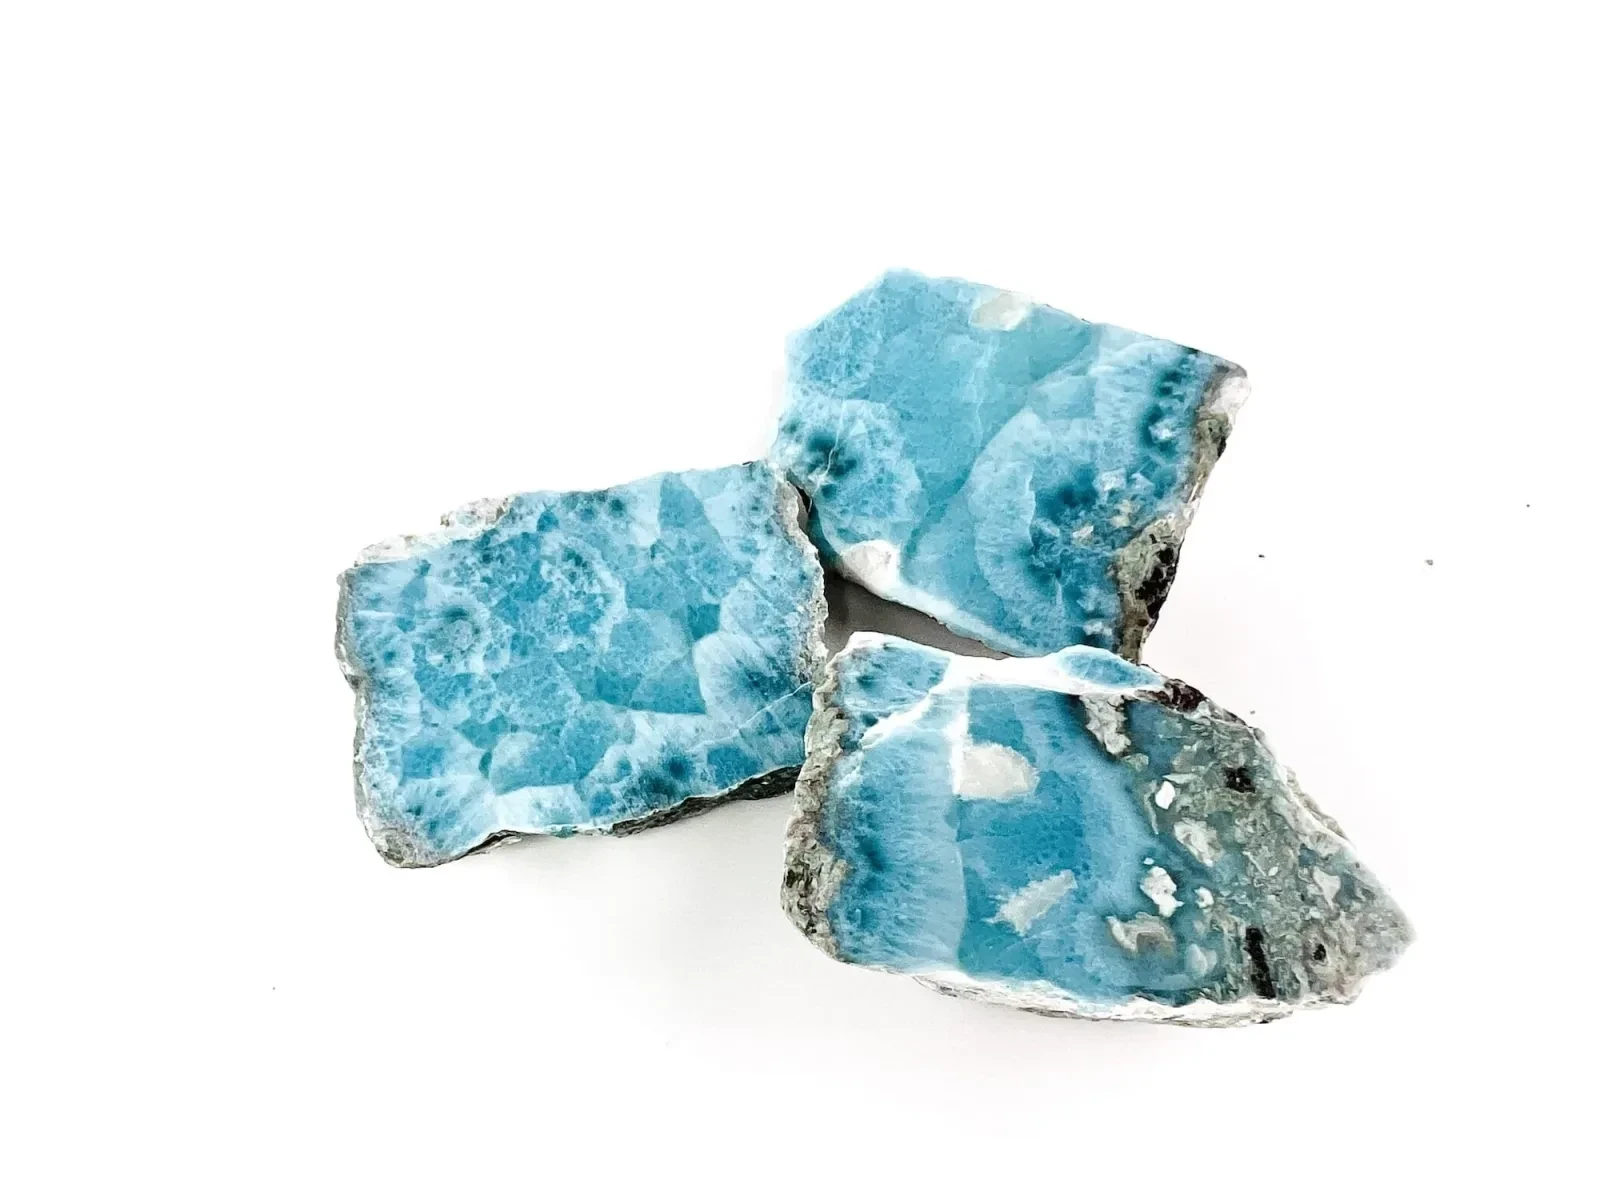
Notice where light enters the piece, where it is blocked and whether thin edges appear different from thicker centres. Translucency depends partly on thickness, structure, surface finish and illumination, so compare like with like.
Matrix, fractures and associated minerals should be described rather than automatically treated as either defects or premiums. Native copper, dark host material, reddish iron-rich features and pale mineral areas can be important parts of a specimen's identity. Their effect on stability, rarity or value depends on the individual piece and cannot be decided from a keyword alone.
5. Read the finish and condition separately
Distinguish natural structure from workmanship and later damage. Look at polish quality, edge treatment, symmetry where intended, drill holes, setting security and visible scratches, chips or open fractures. Rough material, a polished freeform and finished jewellery call for different expectations.
A high material grade does not erase a condition problem, and excellent craft can add value without changing the underlying mineral identity. Keeping those observations separate makes the final description clearer.
6. Put the evidence back together
Read the title, measurements, weight, description, grade labels, photographs and provenance as one record. Multiple grade attributes can be valid when they describe different supported qualities of the same specimen—for example, AAA material with a green area or a fractal pattern. No single badge should replace the complete record.
Before making an enquiry, you should be able to answer:
- What is the form and actual scale?
- Which colors and patterns are visible across the whole piece?
- Are matrix, copper, fractures or other features disclosed?
- What do the photographs show, and what remains unseen?
- Is the item one specimen or a mixed lot?
- Which claims are observations, which are trade grades and which require testing?
Sources and further reading
- Huang, Hao-Ming; Shih, Yu-Hong; Chen, Huei-Fen; Lee, Hao-Yang; Fang, Jiann-Neng; Shen, Chuan-Chou; Yu, Bing-Sheng. “Revealing the Secrets behind the Color and Sea-Wave Patterns of Larimar.” *Minerals*, vol. 13, no. 9, 2023, article 1221. — link
- Dumańska-Słowik, Magdalena; Powolny, Tomasz; Milovský, Rastislav; Natkaniec-Nowak, Lucyna; George, Carlos; Lora, Eudalislao; Quezada, Daniel; Surmacki, Jakub. “Origin of bluish pectolite aka larimar from the Dominican Republic: Constraints from mineralogy and geochemistry.” *Journal of South American Earth Sciences*, vol. 141, 2024, article 104949. — link
- Woodruff, Robert E.; Fritsch, Emmanuel. “Blue Pectolite from the Dominican Republic.” *Gems & Gemology*, Winter 1989, vol. 25, no. 4, pp. 216–225. — link
Keep exploring Open all 12 lessons 0/12 visited
- Lesson 01 What is Larimar?
- Lesson 02 The history of Larimar
- Lesson 03 Larimar geology and formation
- Lesson 04 Larimar mineralogy and physical properties
- Lesson 05 Why is Larimar blue?
- Lesson 06 Larimar patterns, inclusions and associated minerals
- Lesson 07 How to care for Larimar
- Lesson 08 Larimar and the Dominican Republic
- Lesson 09 Larimar symbolism and spiritual traditions
- Lesson 10 Larimar FAQ
- Lesson 11 Larimar glossary
- Lesson 12 How to read a Larimar specimen